
[cpost field=”Addon Name”] – Repository URL & zip file Data
| Repository URL | [cpost field=”Addon Repository URL”] |
| Zip File | xbmc-repos > english > [cpost field=”Addon Repository Zip”] |
Updated May 22nd – v[cpost field=”Addon Version”]
- Updated existing providers (satanuke)
- Added and Updated French providers
- Added and Updated German providers
- Updated Polish providers (homik)
- Add Blazingfast support
- Remove old Debrid-Code
- Note: You might have to reconfigure your Debrid Service in URLResolver Settings
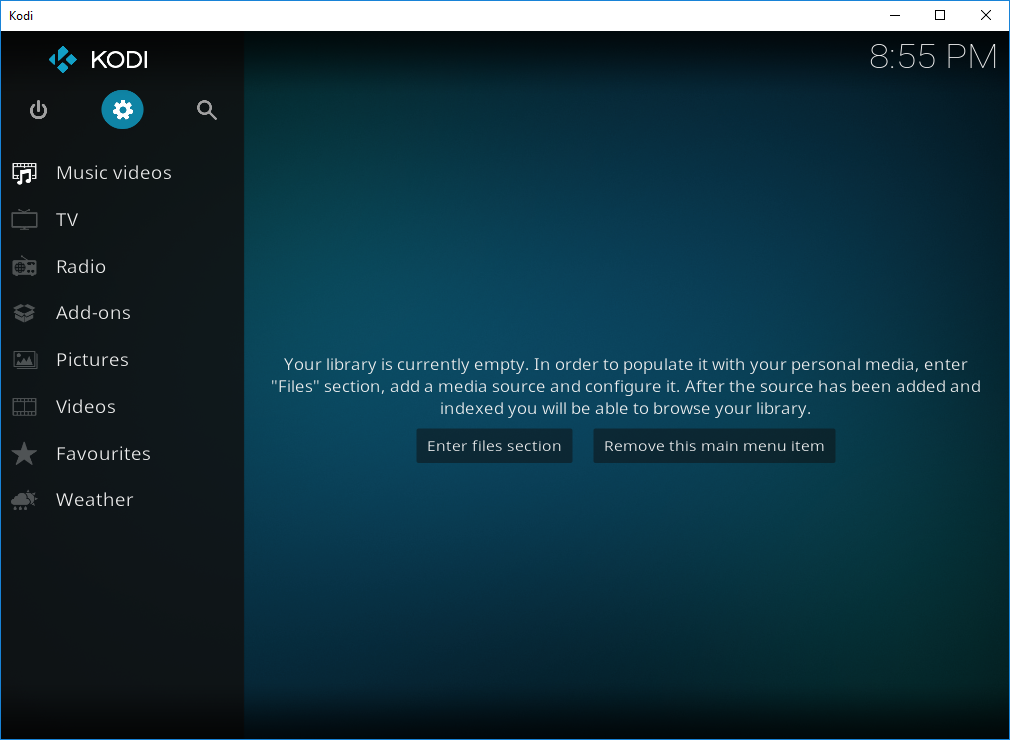
How to install Exodus on Kodi 17 (Krypton)
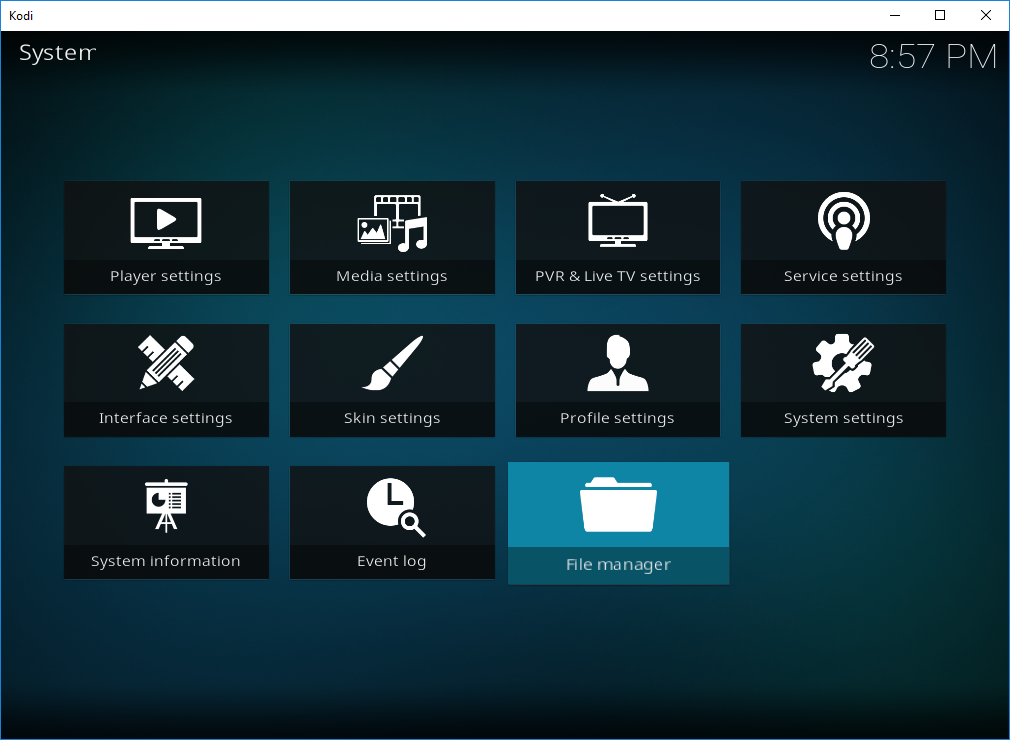
- Select System (Cog Icon – Center Top left)
- Select File Manager
- Select Add Source

- Select None
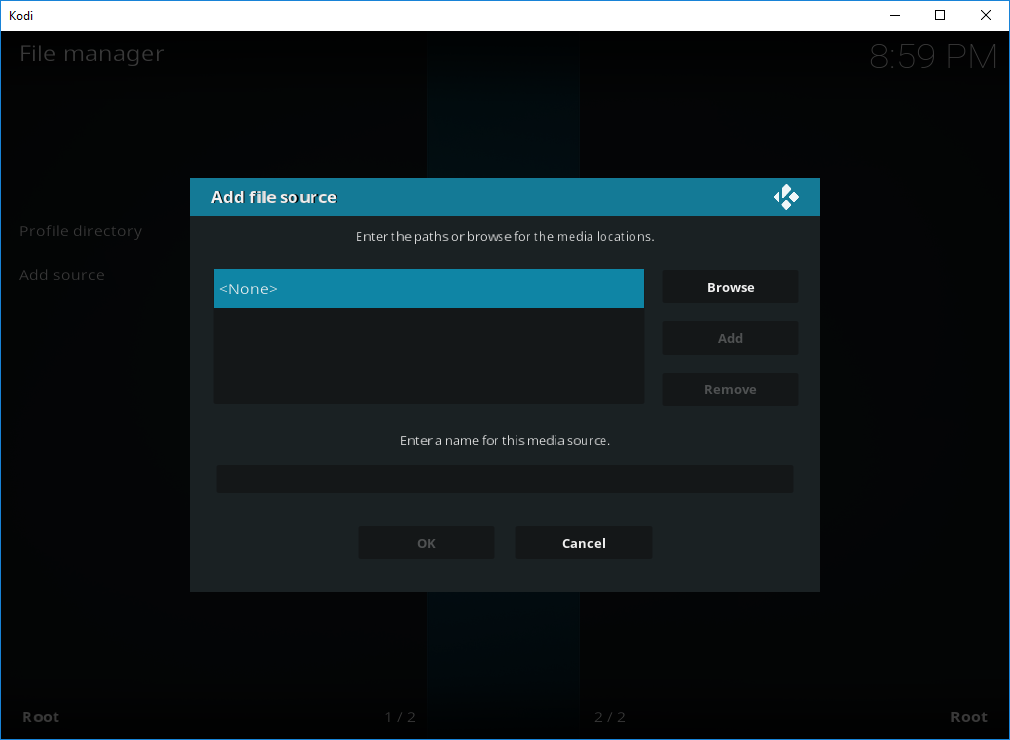
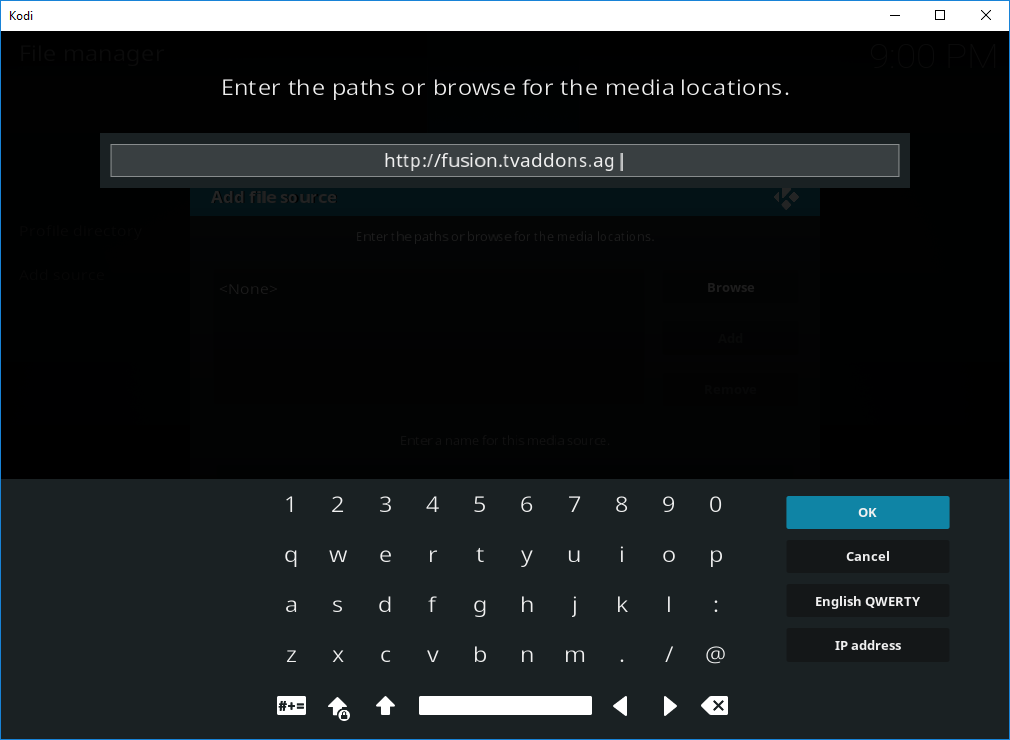
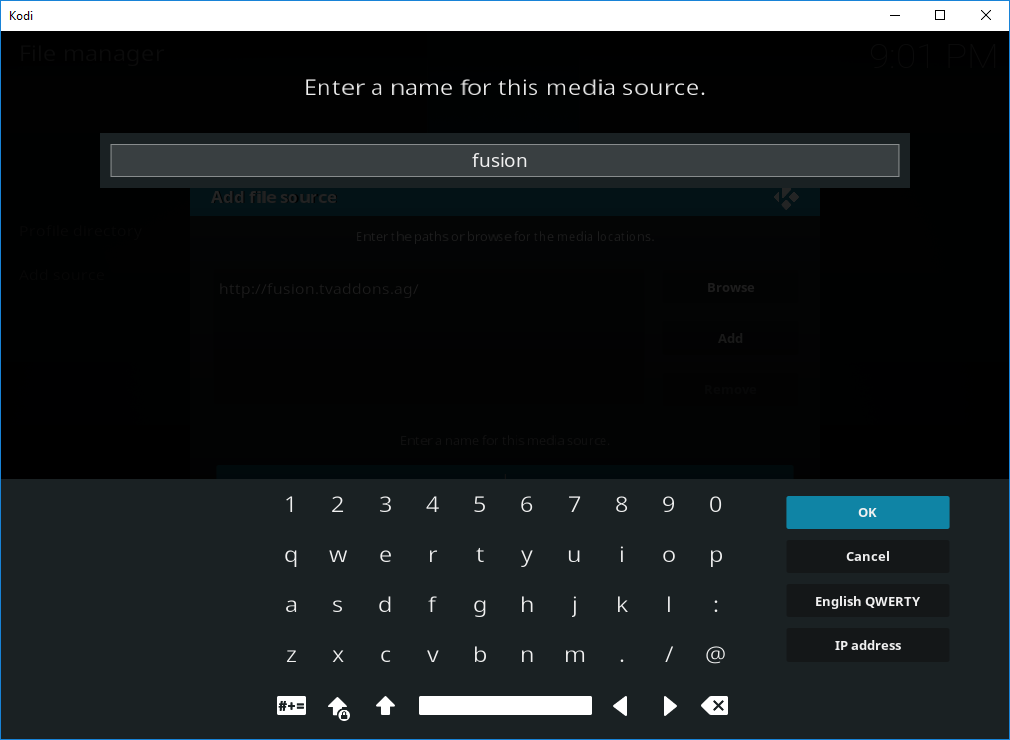
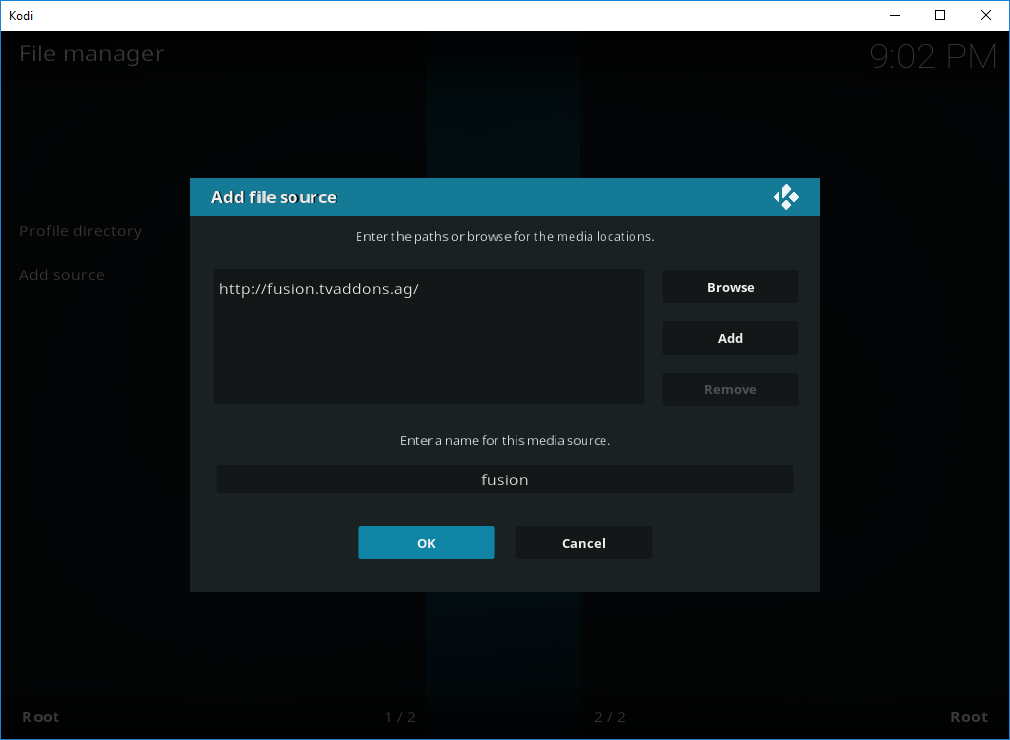
- Type http://fusion.tvaddons.ag then Press OK
- Then Click on the Empty box below ‘Enter a name for this media source’. When the pop up window appears.
- Enter Fusion then OK
- Now select OK
- Now go back up to the Home Screen and select Add-ons
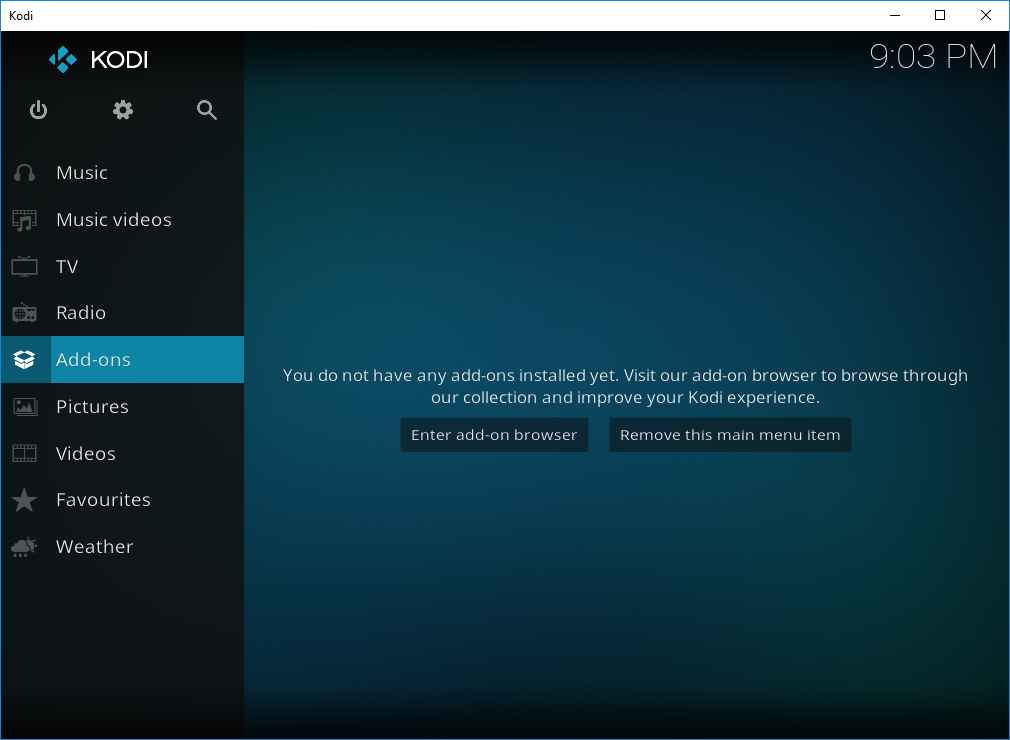
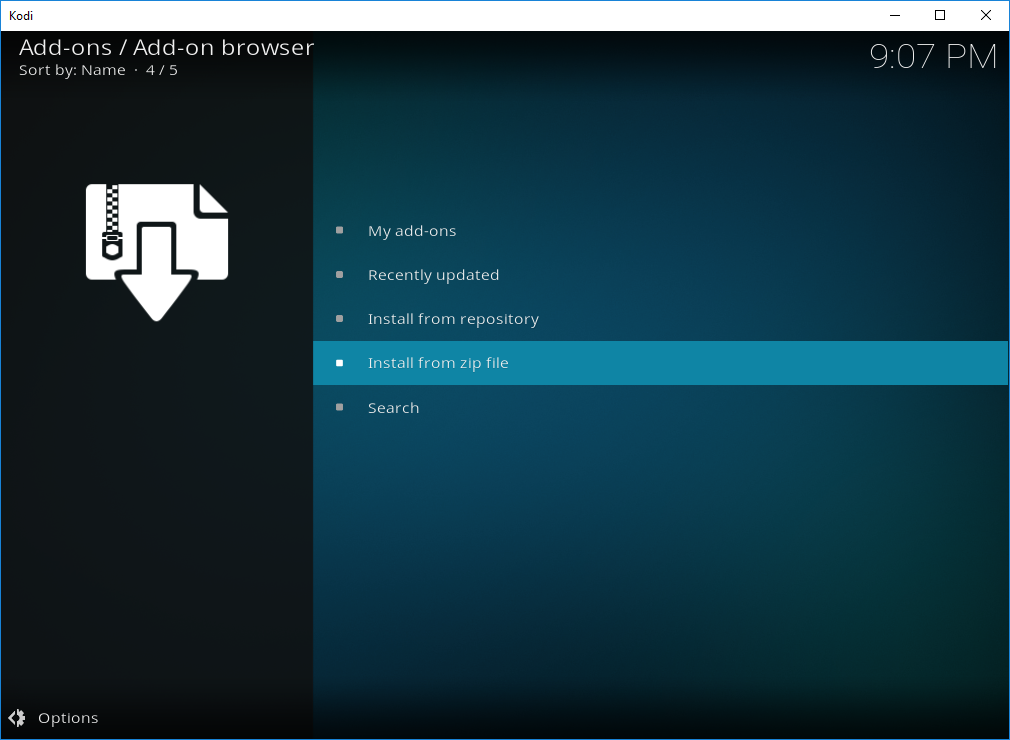
- Select Add-on Browser (Box icon – Top Left)
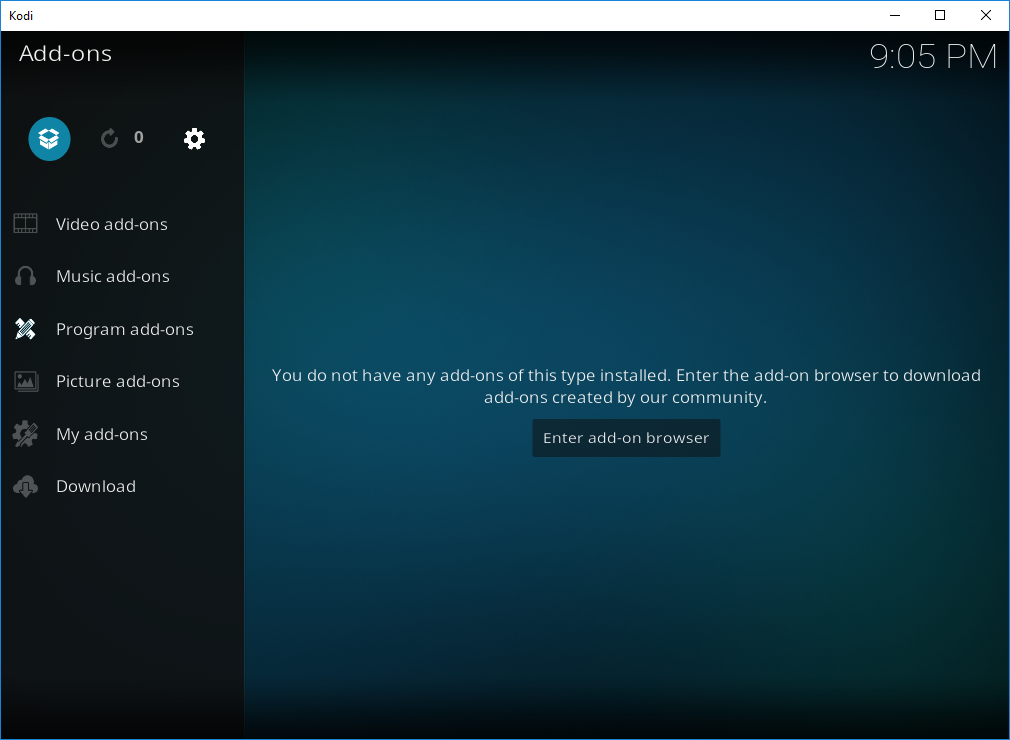
- Select Install from zip file
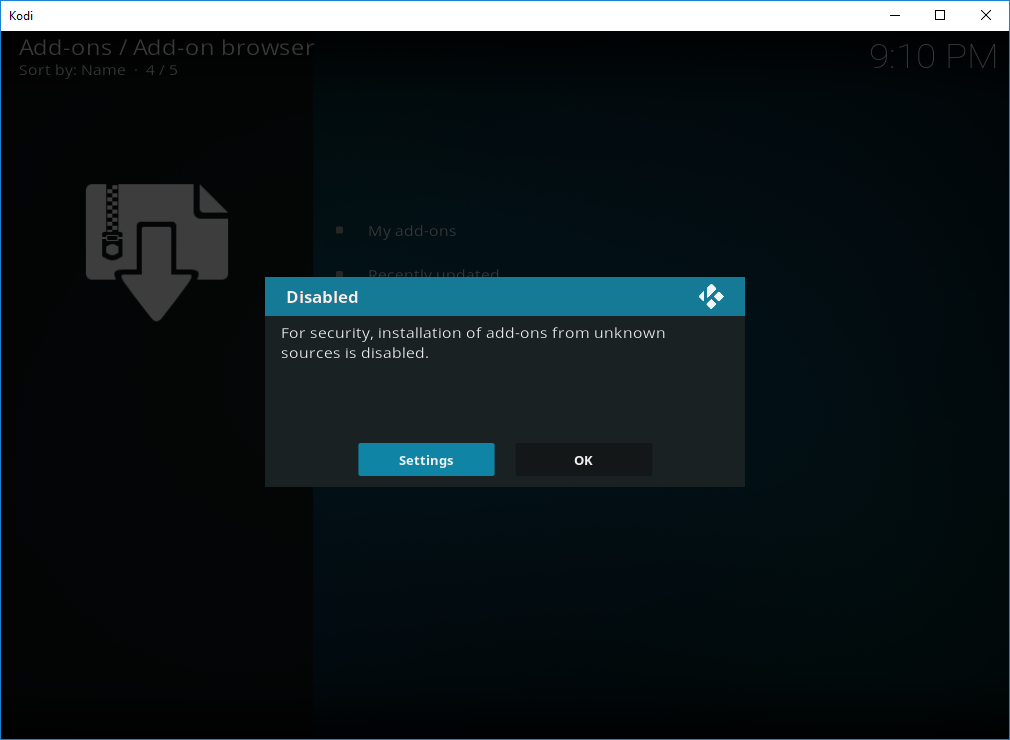
***This step may be optional.
“For security, installation of add-ons from unknown sources is disabled”
Select Settings
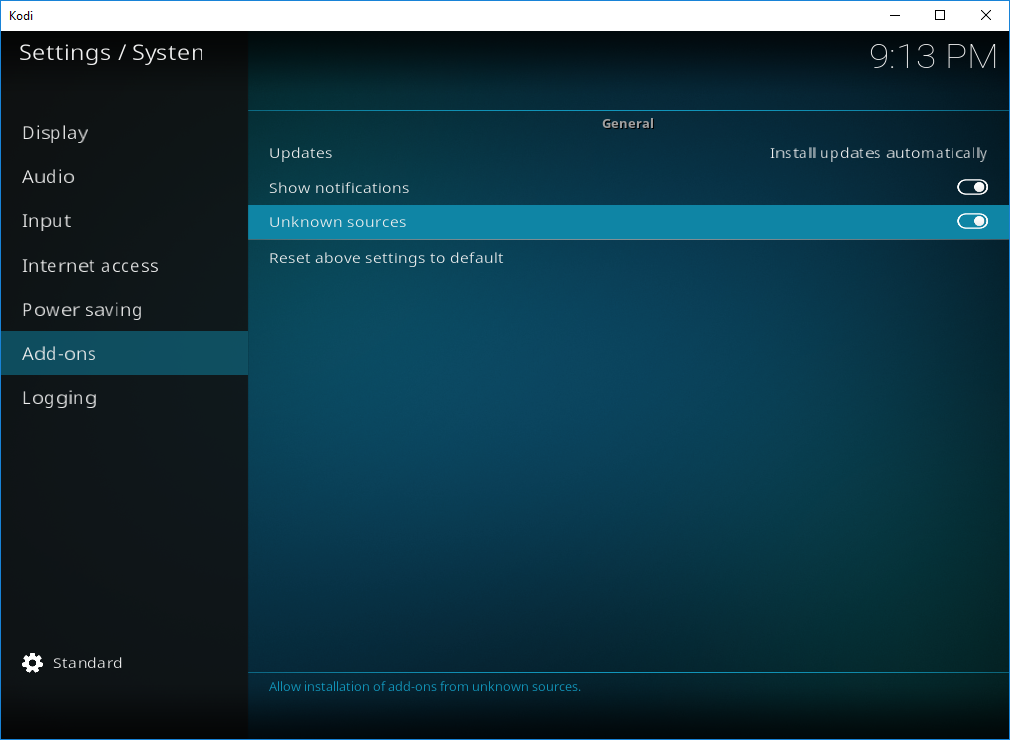
Enable Unknown sources
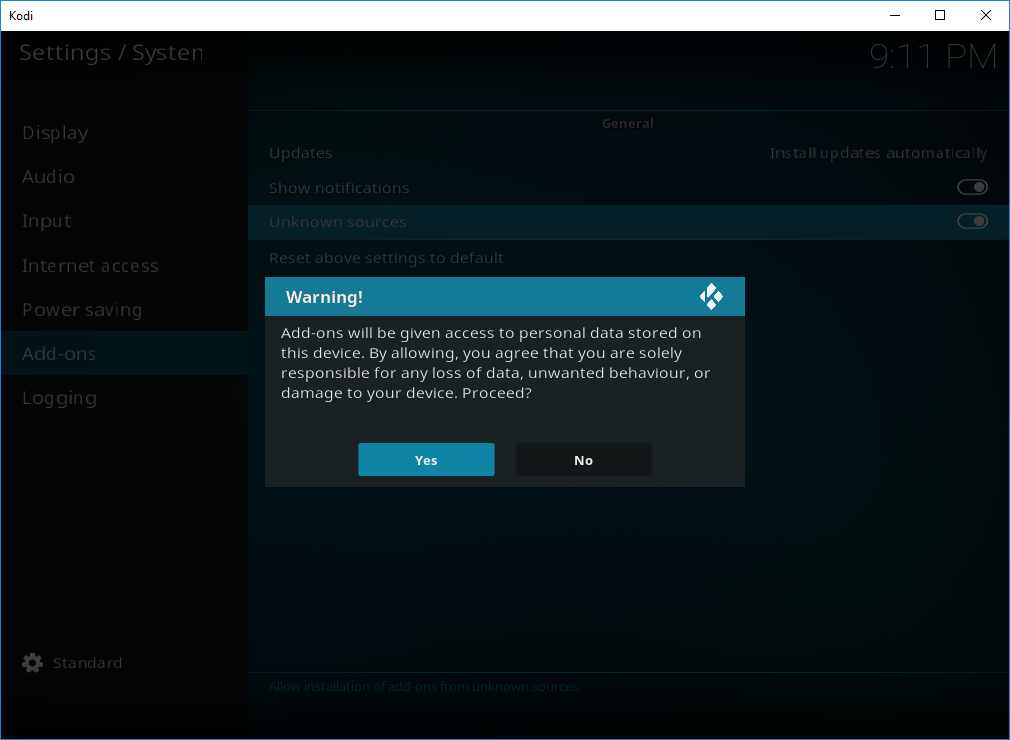
Popup will appear “WARNING”!
Proceed YES
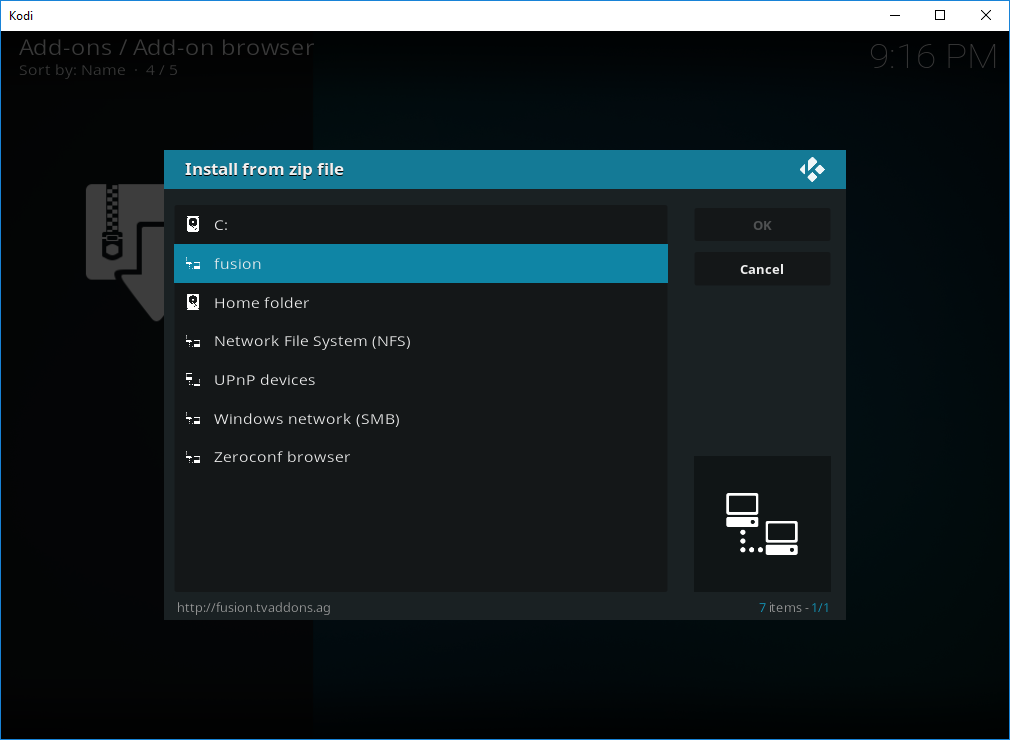
- Now go back to Add-on Browser and select Install from Zip file

- Select Fusion
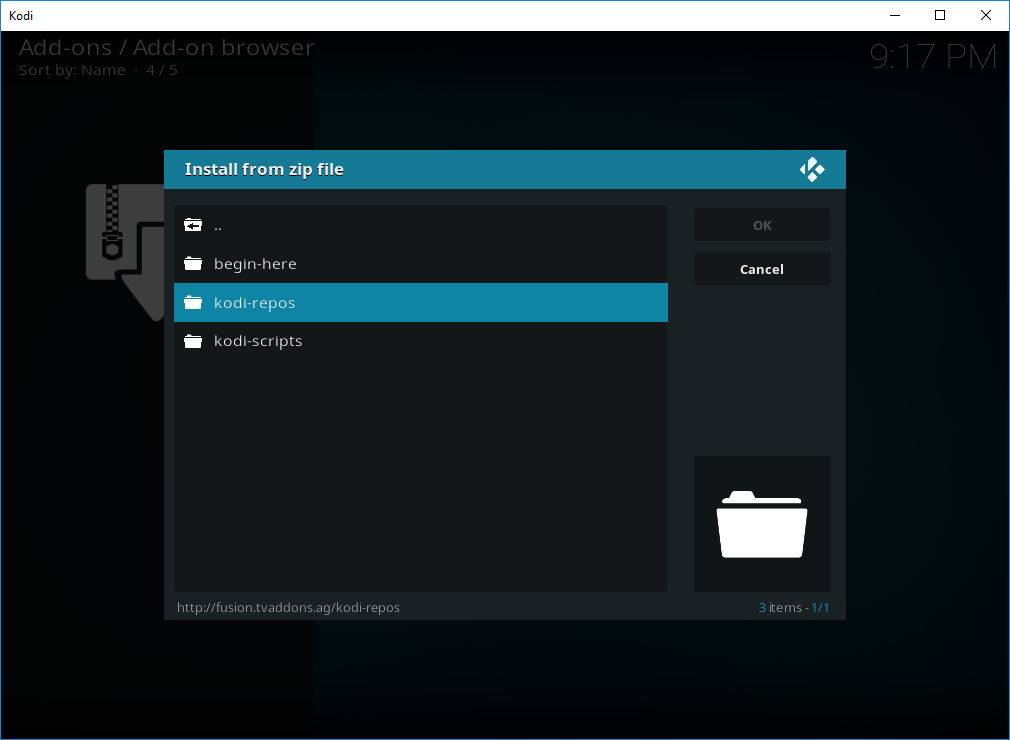
- Select kodi-repos
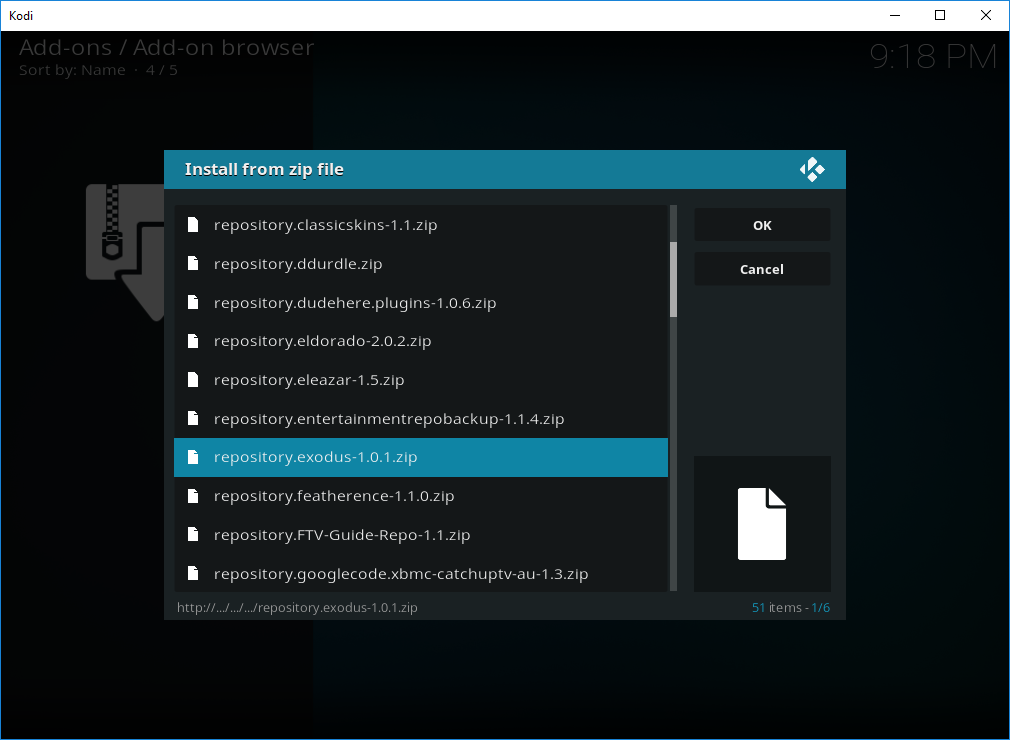
- Select english

- Select repository.exodus-x.x.x.zip
- Wait for the notification to say Exodus Repository – Add-on Updated
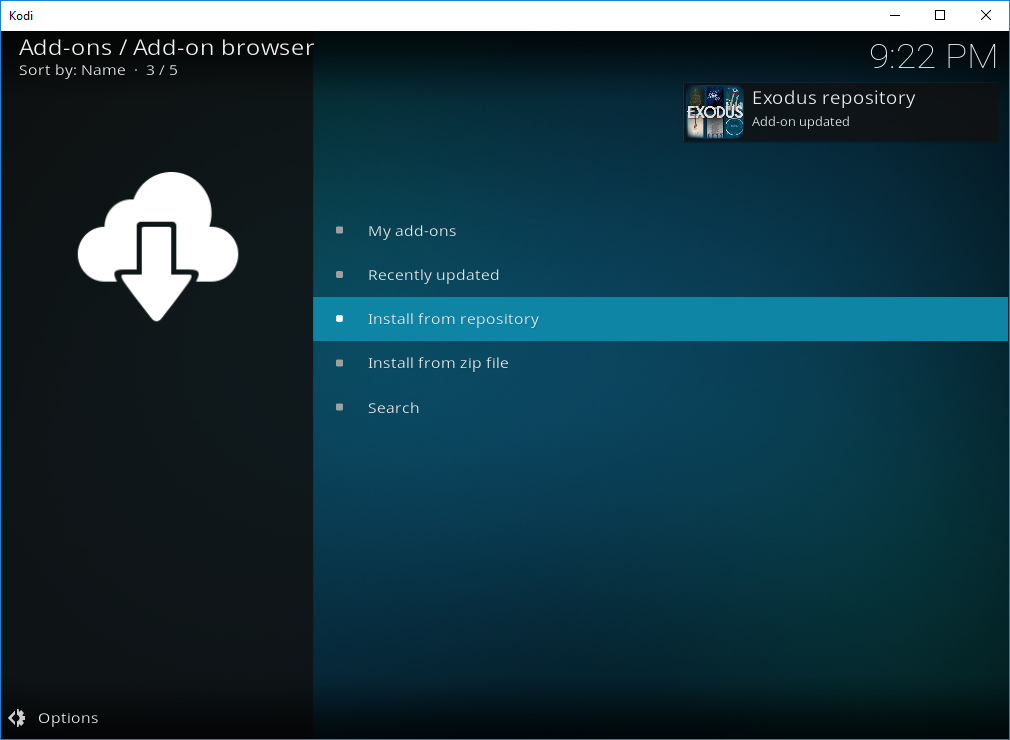
- Select Install from Repository

- Select Exodus Repository
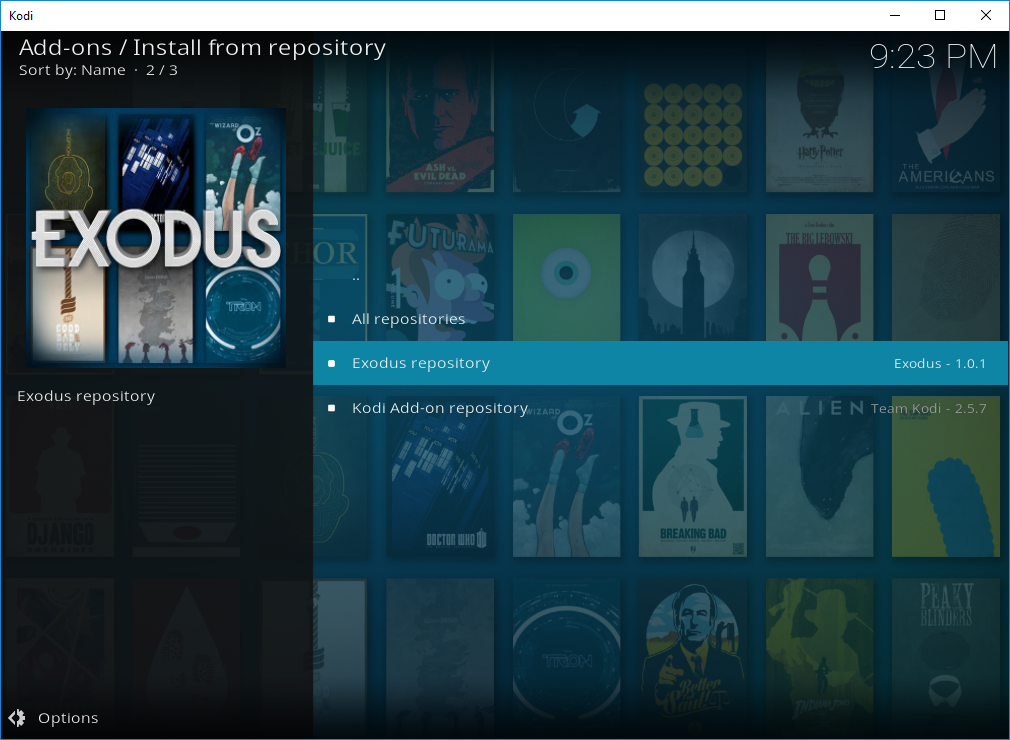
- Select Video add-ons
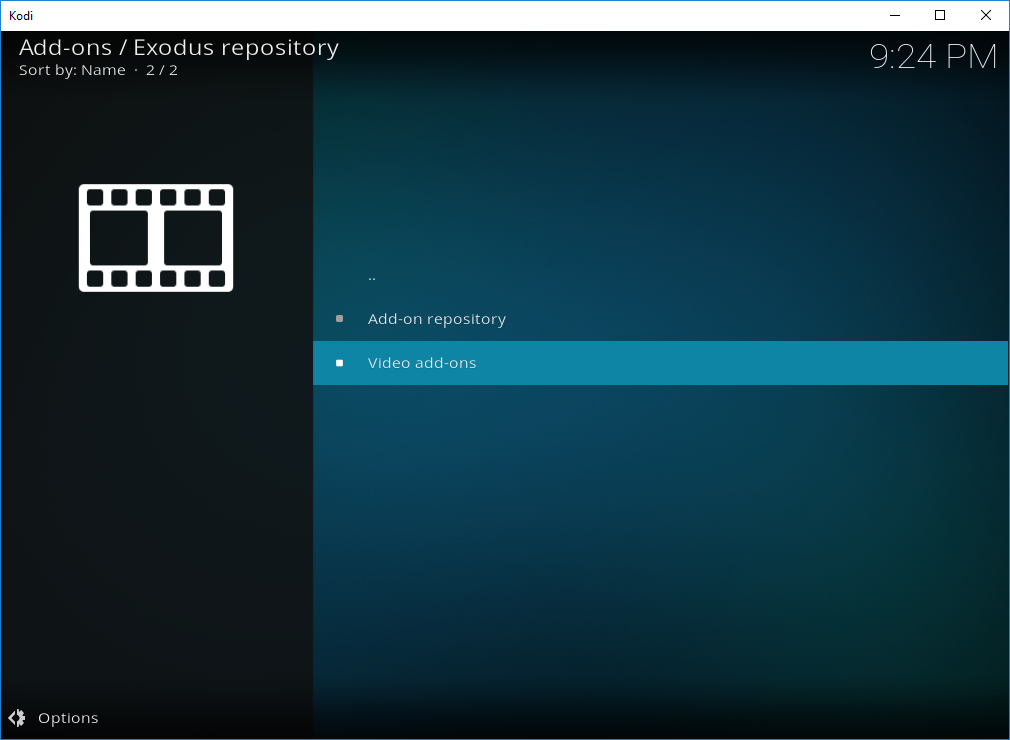
- Select Exodus

- Select Install

- You wil now get notification to say Exodus Installed
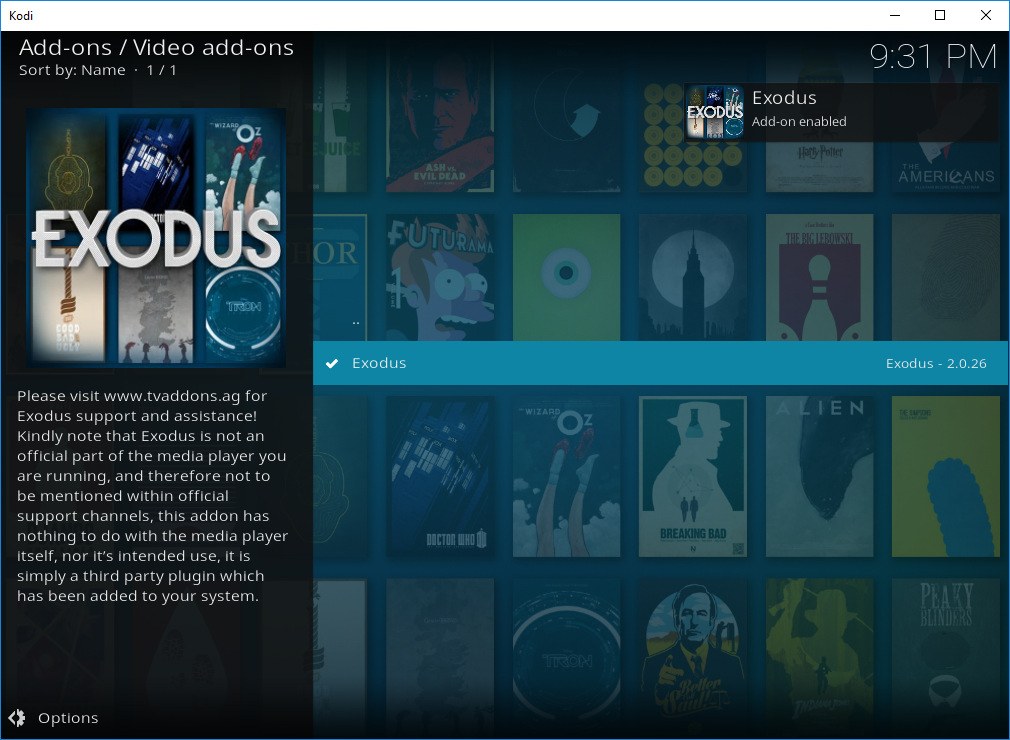
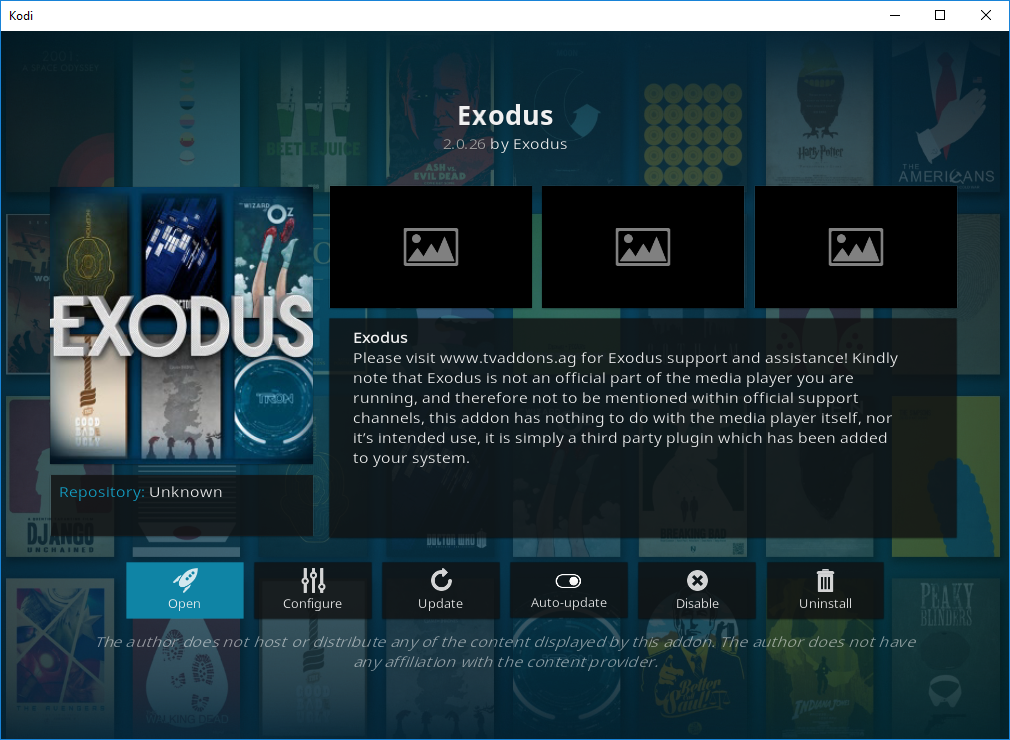
Exodus is now installed
- To quickly open Exodus, Select Exodus
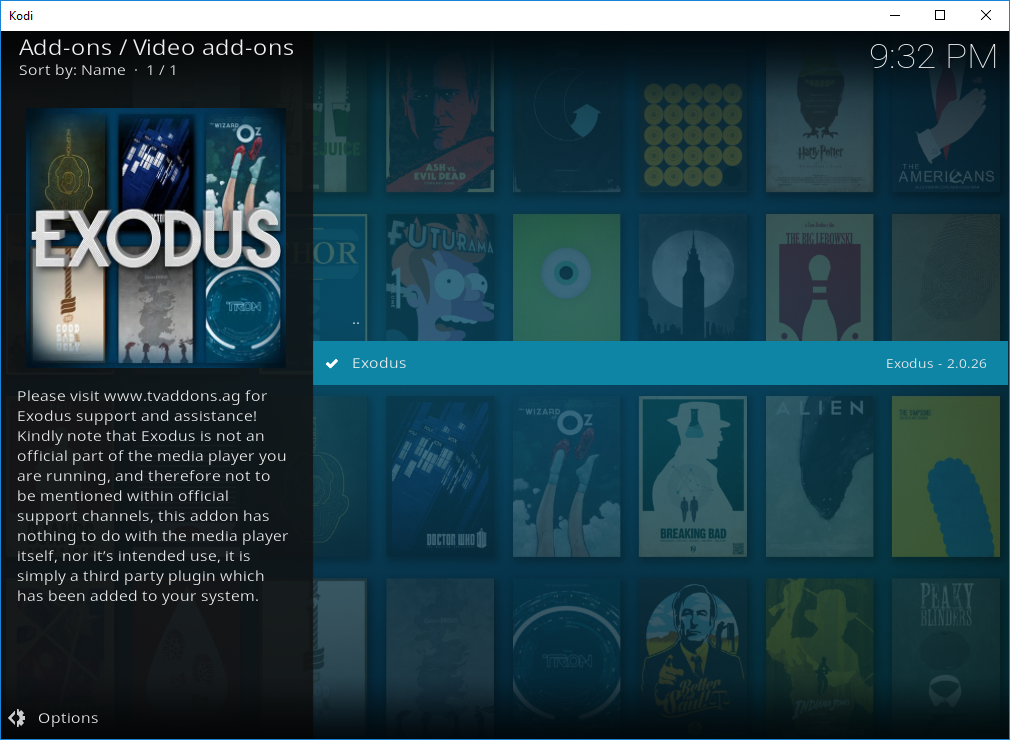
- Select Open
The installation of Exodus on Kodi 17 (Krypton) is now complete.